Host your Github Actions generated Dokka documentation on Netlify
Recently I was playing with a new Kotlin project, trying to bring some Python goodness into Kotlin. After I created the first POC, refactored it until something releasable emerged, and figured out one more time how maven publishing works, it was finally time to share it with the world.
But this project is just demonstrating a concept, and many extension functions are required in order to facilitate its usage with native types. So, even though I’m a big fan of exhaustive READMEs, I was looking for more complete documentation.
This is the story of how I could plug together:
- Dokka
Github PagesNetlify- Github Actions
And at the end have an easy to build documentation, refreshed every time a new version is published.
⚠️ All examples are using a project named kounter. Replace all occurences with your own project name.
Dokka
Dokka is THE documentation engine for Kotlin and so was my natural choice for this project. It seems like they’re also fans of exhaustive READMEs because all of my questions were answered pretty quickly by reading it, but for you I will summarize what’s important to know when using it.
First of all, Dokka has different ways to generate documentation. In my case, only 3 were really interesting:
html- minimalistic html format used by default, Java classes are translated to Kotlinjavadoc- looks like normal Javadoc, Kotlin classes are translated to Javahtml-as-java- looks likehtml, but Kotlin classes are translated to Java
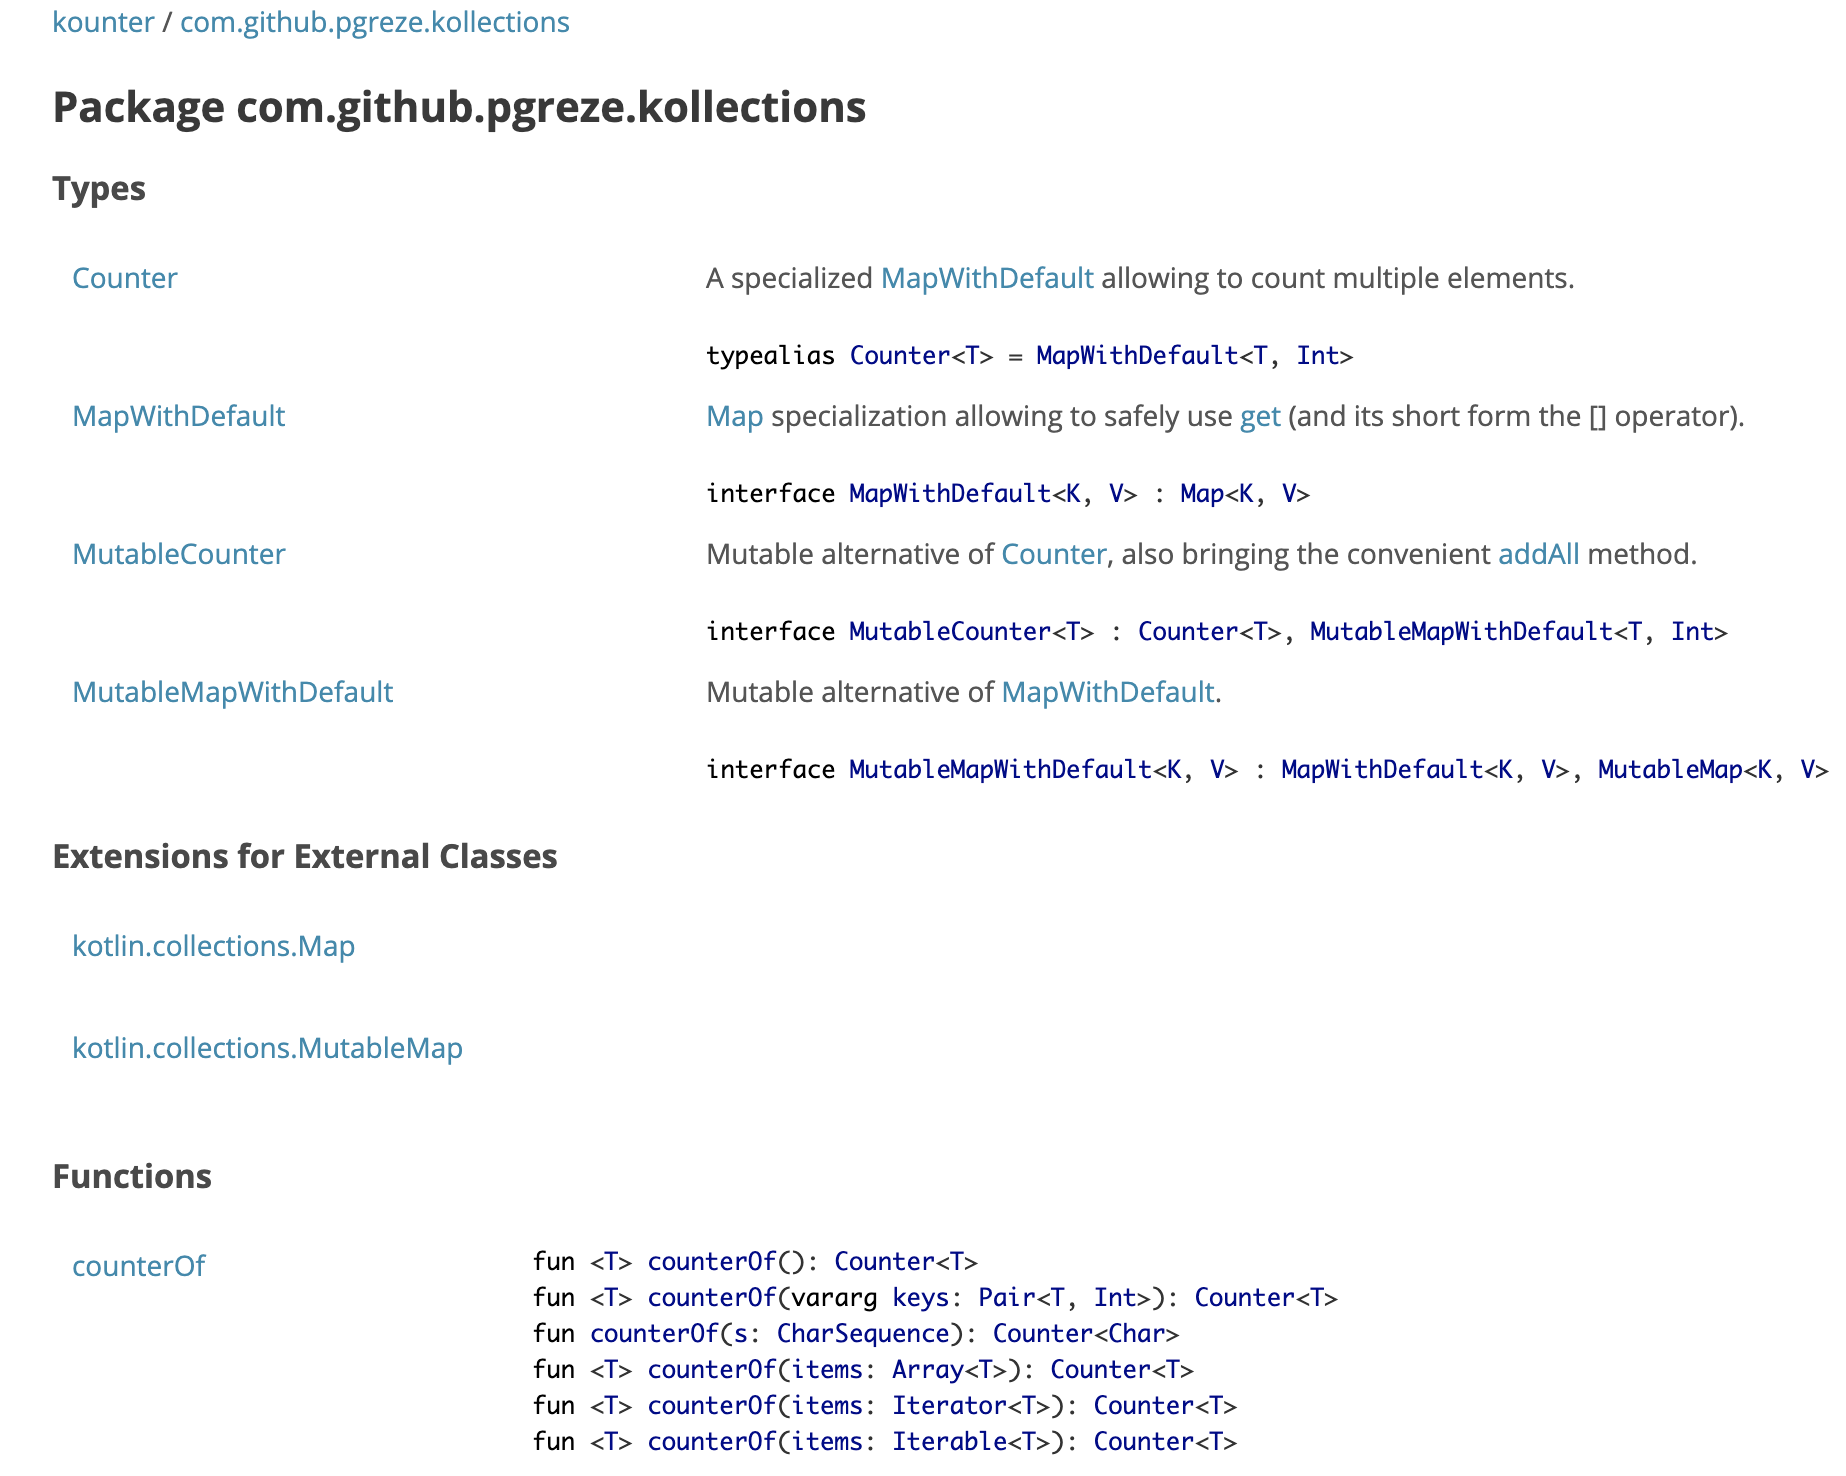 html output is minimalist but quite useful for a Kotlin user.
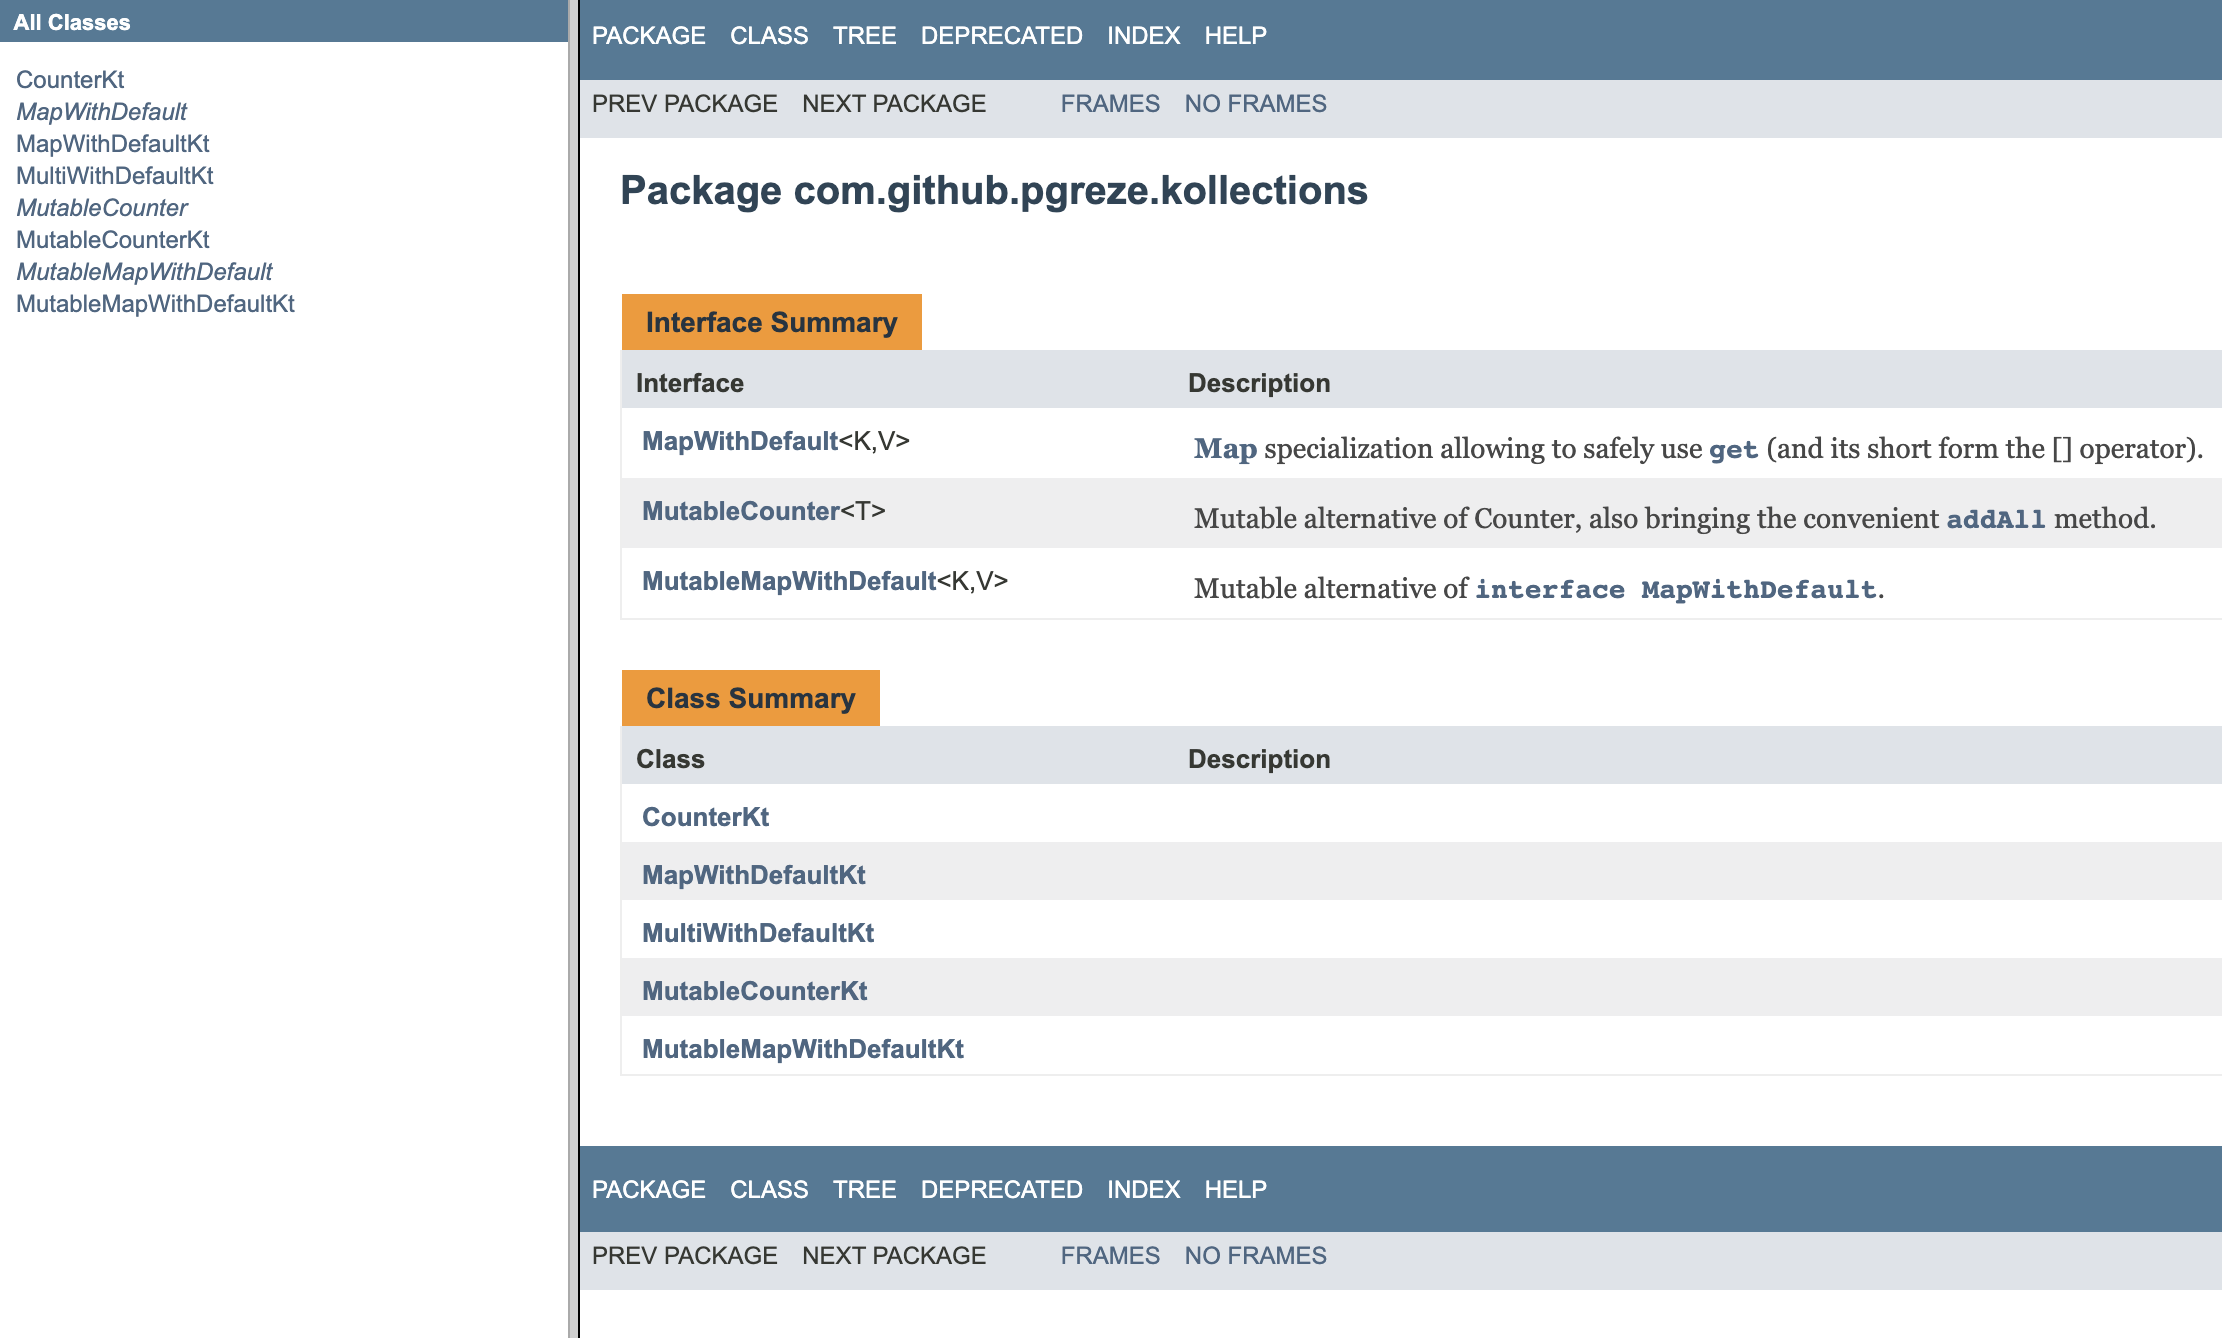 javadoc is bare to the metal. Probably good for a Java centric corporate project.
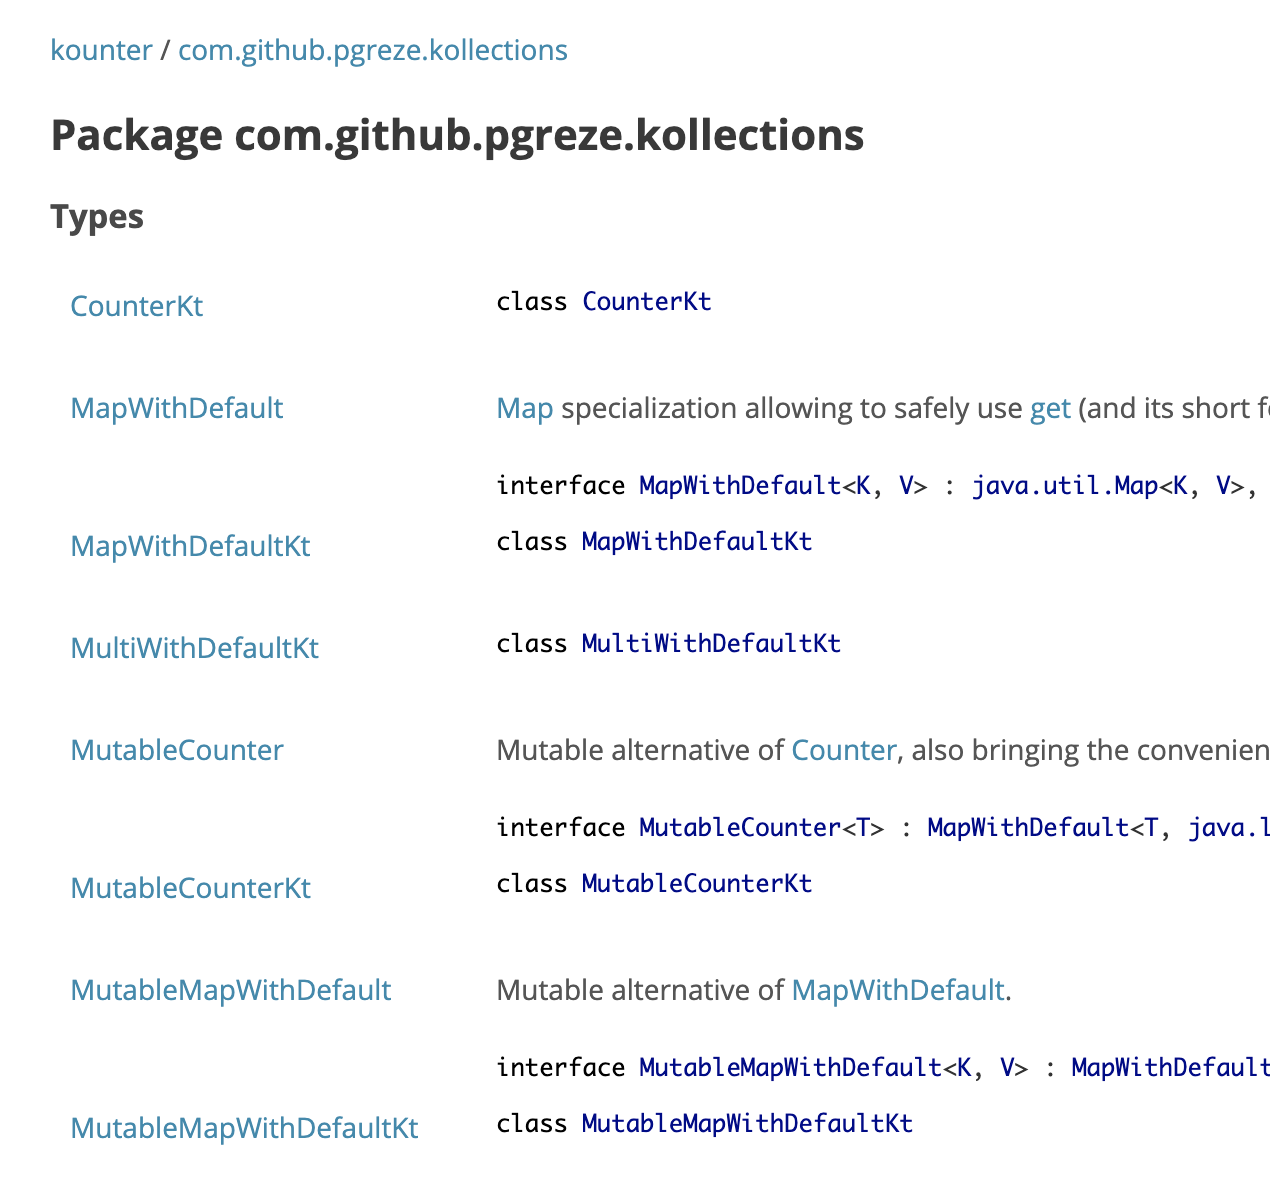 if you like javadoc and blue colors.
After choosing which format you prefer, now it’s time to include Dokka in your Gradle setup:
plugins {
    id("org.jetbrains.dokka") version "0.10.1"
}

tasks.dokka {
    outputFormat = "html"
    outputDirectory = "$buildDir/dokka"
    configuration {
        sourceLink {
            // URL showing where the source code can be accessed through the web browser
            url = "https://github.com/pgreze/kounter/tree/${tagVersion ?: "master"}/"
            // Suffix which is used to append the line number to the URL. Use #L for GitHub
            lineSuffix = "#L"
        }
    }
}
The sourceLink block lets us jump from documentation to Github source code.
The tagVersion ?: "master" instruction injects the latest available version or fallback to master branch for local development.
Please see the project Gradle setup for a complete example.
After all this setup, generating your first documentation is as easy as using:
$ ./gradlew :dokka
$ tree -L 2 build/dokka/
build/dokka/
├── kounter
│   ├── alltypes
│   ├── com.github.pgreze.kollections
│   ├── index-outline.html
│   ├── index.html
│   └── package-list
└── style.css
$ open build/dokka/kounter/index.html # Open in your browser (OSX)
But as you noticed, this project only includes 1 module, and generated HTML is using a style.css file located one folder above the single module one.
To facilitate future operations, it would be nice to:
- move this style.css file into the build/dokka/kounter folder and
- rewrite all HTML files to reference the new location.
Thanks to Gradle Kotlin DSL, it’s really easy to create a custom task finalizing the dokka task with those last minute edits:
val moveCss by tasks.registering {
    description = "Move style.css in the same location than index.html."
    fun File.rewriteStyleLocations() {
        readText().replace("../style.css", "style.css")
            .also { writeText(it) }
    }
    fun File.recursivelyRewriteStyleLocations() {
        list()?.map(this::resolve)?.forEach {
            if (it.isDirectory) it.recursivelyRewriteStyleLocations() else it.rewriteStyleLocations()
        }
    }
    doLast {
        val dokkaTask = tasks.dokka.get()
        val dokkaOutputDirectory = file(dokkaTask.outputDirectory)
        val dokkaSingleModuleFolder = dokkaOutputDirectory.resolve(dokkaTask.configuration.moduleName)
        dokkaSingleModuleFolder.recursivelyRewriteStyleLocations()
        dokkaOutputDirectory.resolve("style.css").also {
            it.renameTo(dokkaSingleModuleFolder.resolve(it.name))
        }
    }
}
tasks.dokka {
    // ...
    finalizedBy(moveCss)
}
And so without changing our gradle task execution, we can slightly change the generated documentation to fit our needs 👍
Publish to Netlify
Our goal was to have an easy to use documentation, but it’s still only available locally. Dokka generates HTML static files, but we’re missing a place to serve them for free.
Github Pages was the way to go when I first started writing this blog, but nowadays Netlify has surpassed it:
- Deploy Previews 🤩
- Compatible with all Static Site Generators 🤩
- Support @cassidoo in bringing joy to our lives 🎉
I had thought Netlify was only consuming a git repository, the same way as Github Pages. But there’s also a command line client that lets you publish a bunch of files as a website (similar to Firebase Hosting).
Before using it in your CI, you need to create a new site locally:
$ netlify login
$ netlify deploy -d build/dokka/kounter
The first deploy will allow you to create a new site, choose a name for it, etc. After doing so, you can start deploying the first version with:
netlify deploy -d build/dokka/kounter --prod
You can now access your fresh new dokka documentation online 🎉
Publish for every new releases
As with all my new open source projects, I’m using Github Actions to publish a new release every time I create a new release/tag in my repository.
Netlify provides a Github Action to use their command line application in a workflow. My setup is pretty simple:
      - name: Generate Dokka
        run: ./gradlew :dokka
      - name: Publish Dokka
        uses: netlify/actions/cli@master
        with:
          args: deploy --dir=build/dokka/kounter --prod
        env:
          NETLIFY_SITE_ID: ${{ secrets.NETLIFY_SITE_ID }}
          NETLIFY_AUTH_TOKEN: ${{ secrets.NETLIFY_AUTH_TOKEN }}
I found NETLIFY_SITE_ID in the .netlify/state.json file created after I deployed the first version locally, and a new NETLIFY_AUTH_TOKEN can be generated in the Netlify UI.
And regarding Github secrets setup, that’s something you probably learned quickly after starting to use Github Actions.